BSG 8 Home     BSG 8's story    Back on the road    Pictures    Service history    The BSG 8 Blog     Contact

Monday 18 April 2016

Switches and dials

One of the main jobs this winter was to re-position many of the dials and controls.


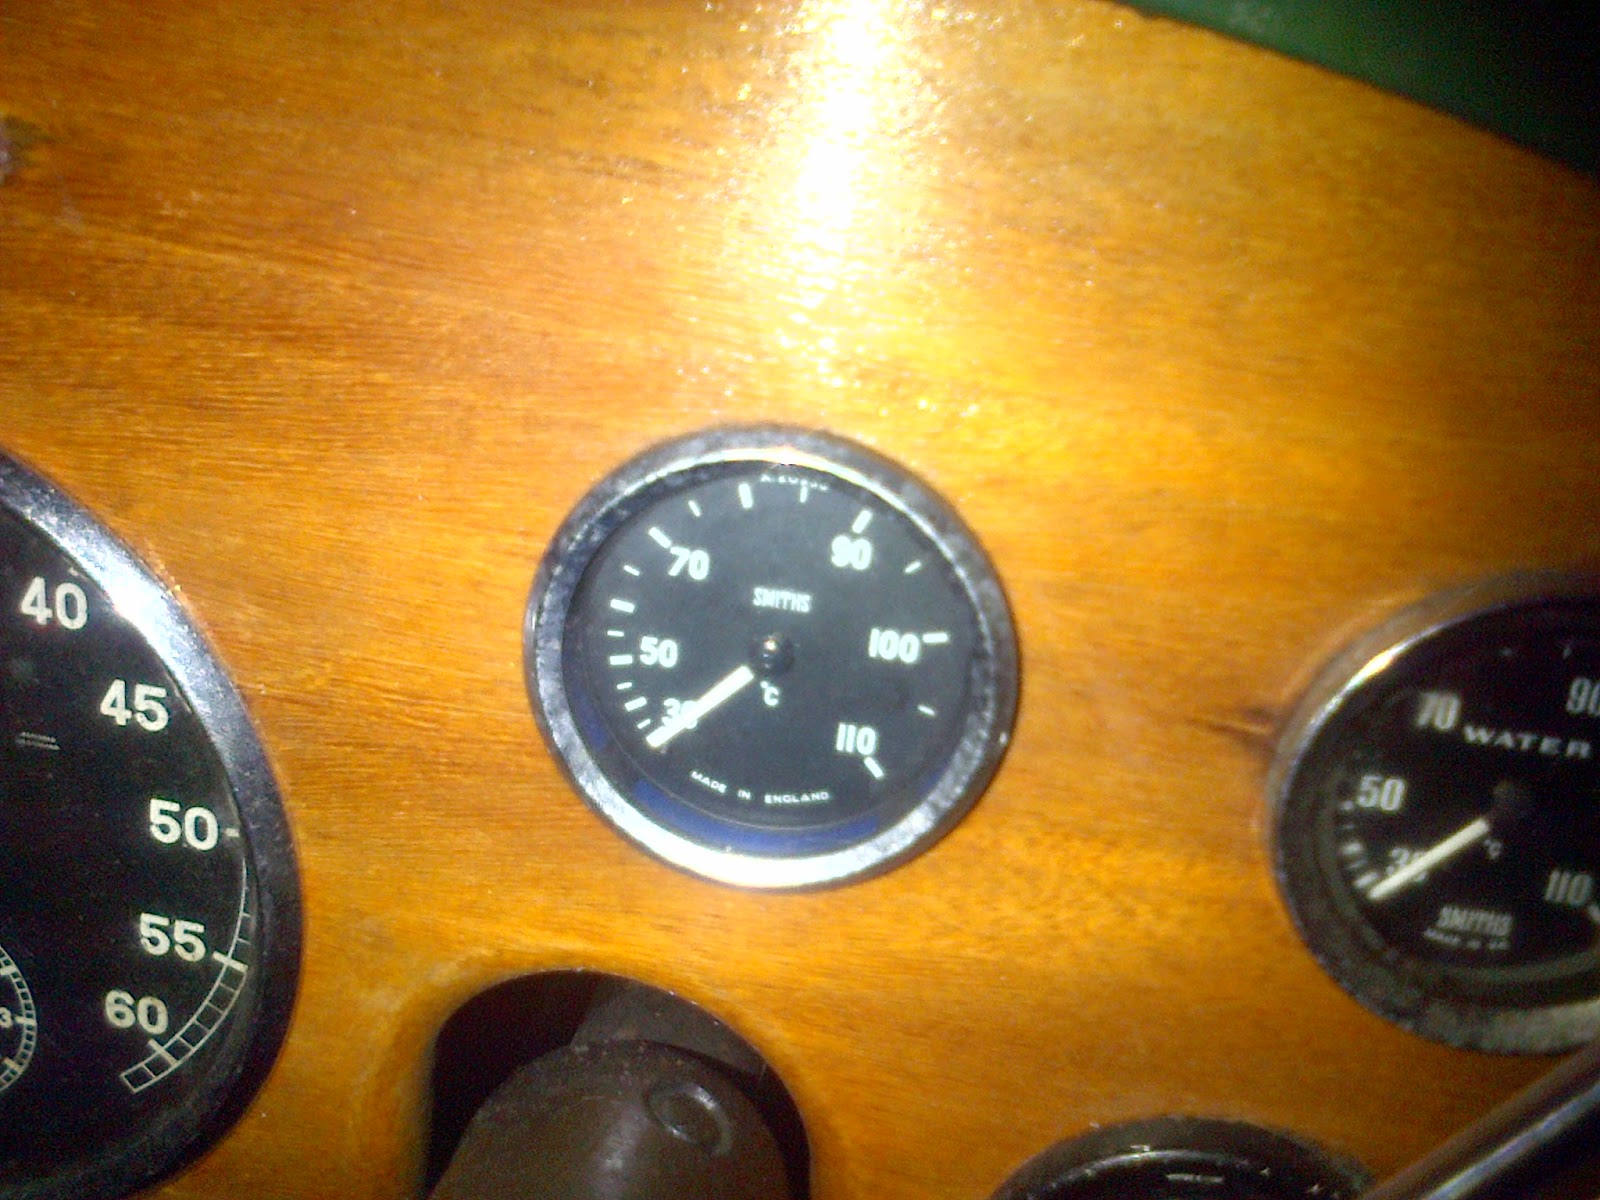
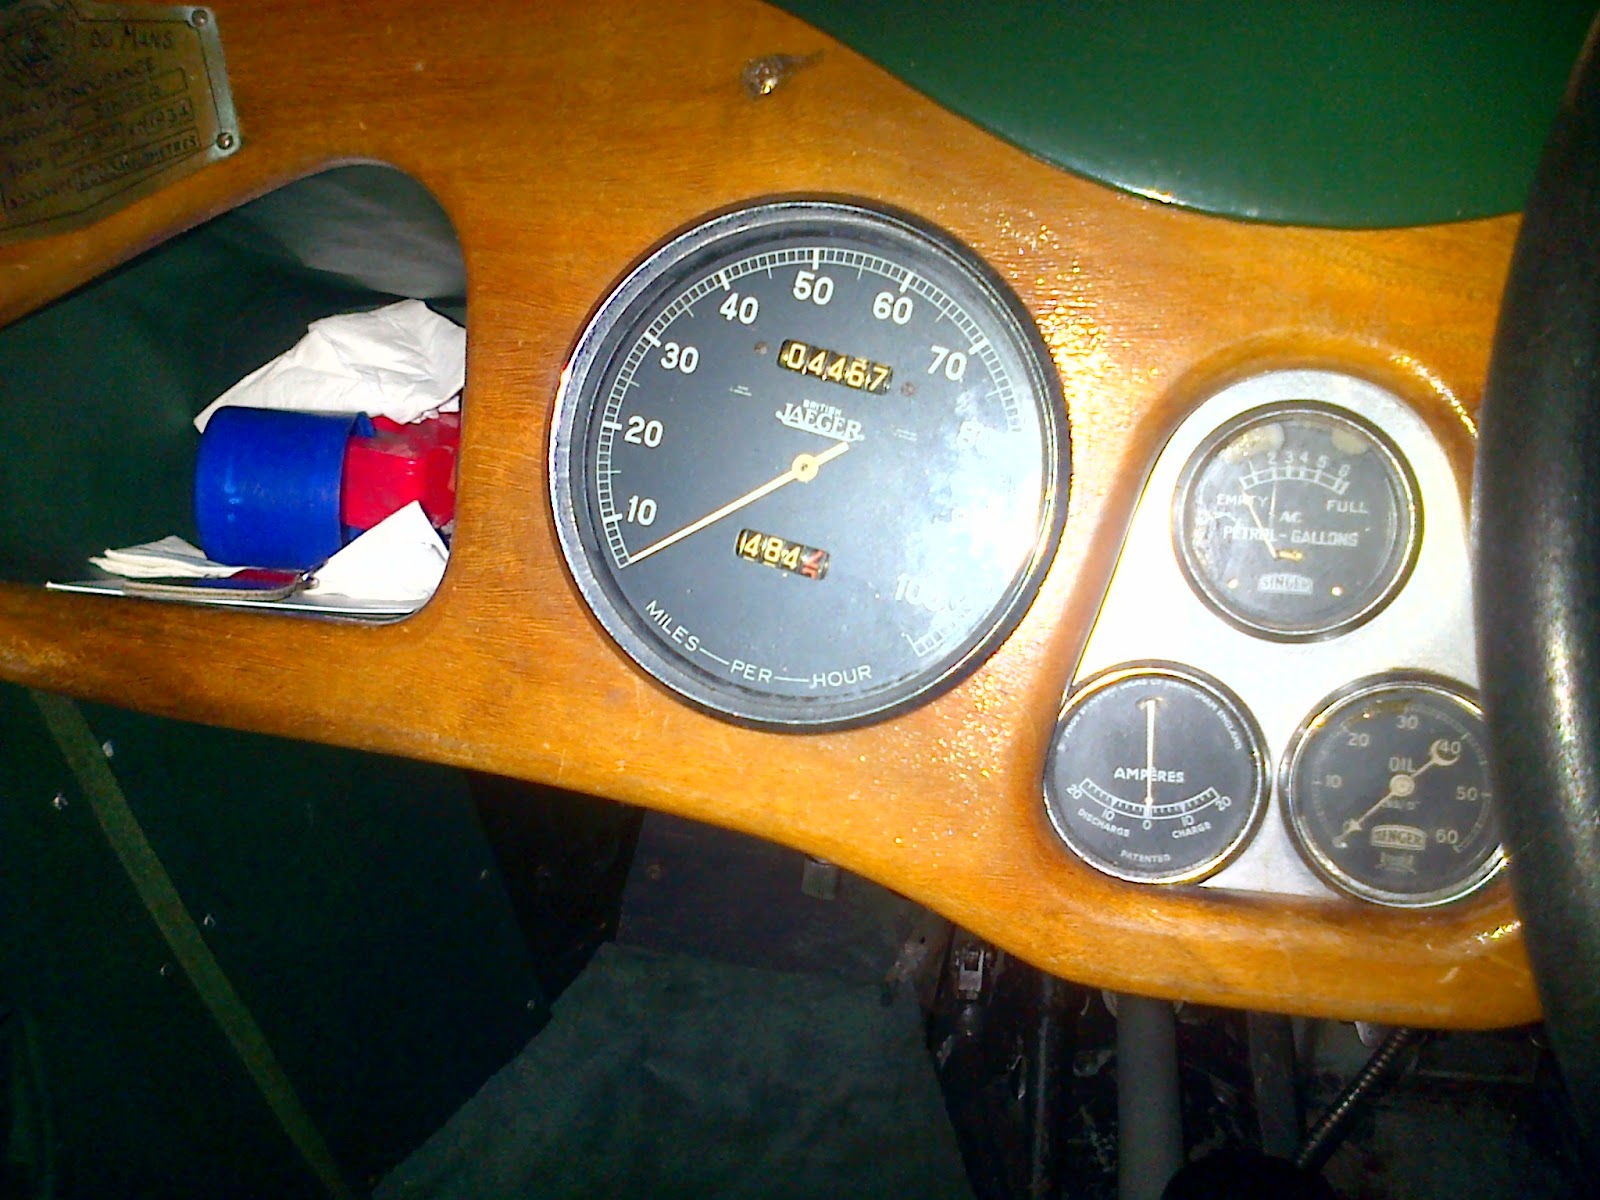
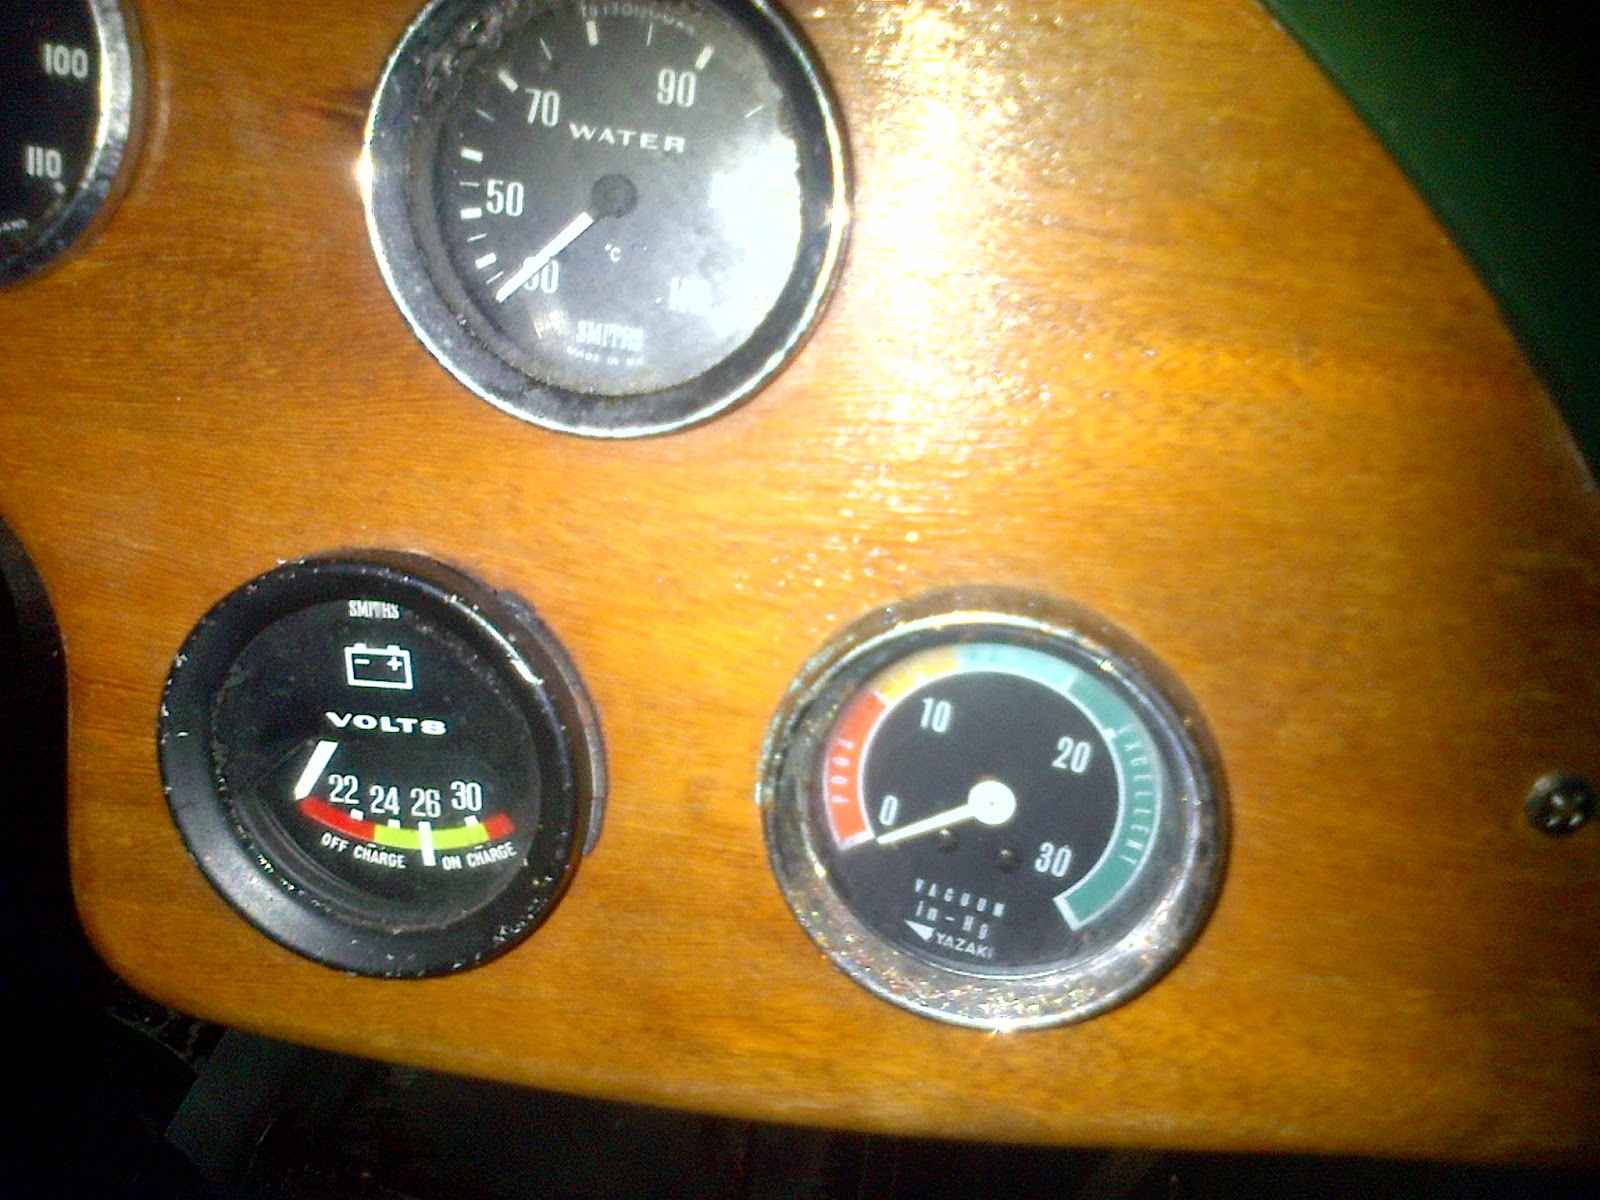
My dad was very keen to get as many dials as possible onto the dash.  In all, there were nine! This included both a volt meter (in addition to the amp meter) and a vacuum gauge. All very useful, but at the price of everything else being located underneath the dash (ie ignition switch, starter button, lights, choke, horn and indicators). These were therefore all quite difficult to use.

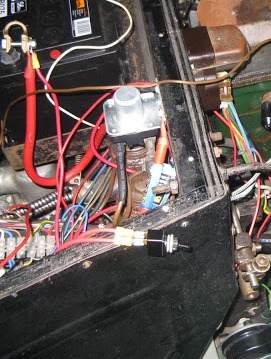
The loom taking the electrics up to the back of the dashboard was also 'interesting'. All the connections
were made using an eight-piece plastic connector block, which was strapped to the steering column. This did work and had the advantage of allowing you to (relatively) easily work out what was connected to what. However, it looked unsightly and my mechanic brother-in-law's eyebrows disappeared through his forehead at the thought of that trying to pass an MOT.

So, first up was the painstaking task of replacing the connector block by soldering the wire connections instead.  Never having wielded a soldering iron before, I scoured the web and Youtube for advice, most of which was contradictory or didn't work.  For example, it seems you're meant to heat the wires rather than the solder; if I'd persevered with that I'd still be trying to complete the first join!  After a lot of trial and error, squinting and contortions, the first job was completed during the Christmas holidays.

Second job was to put the wires in some sort of loom.  Not wanting to disconnect everything, I found on the internet loom material that allows you to insert the wires from the side, after which the loom snaps shut again.  Although it works, it's made out of some sort of plastic-type fibre and is really meant for tidying computer cables at the back of a desk, and therefore doesn't look quite right in a car.  However, it will do for now.

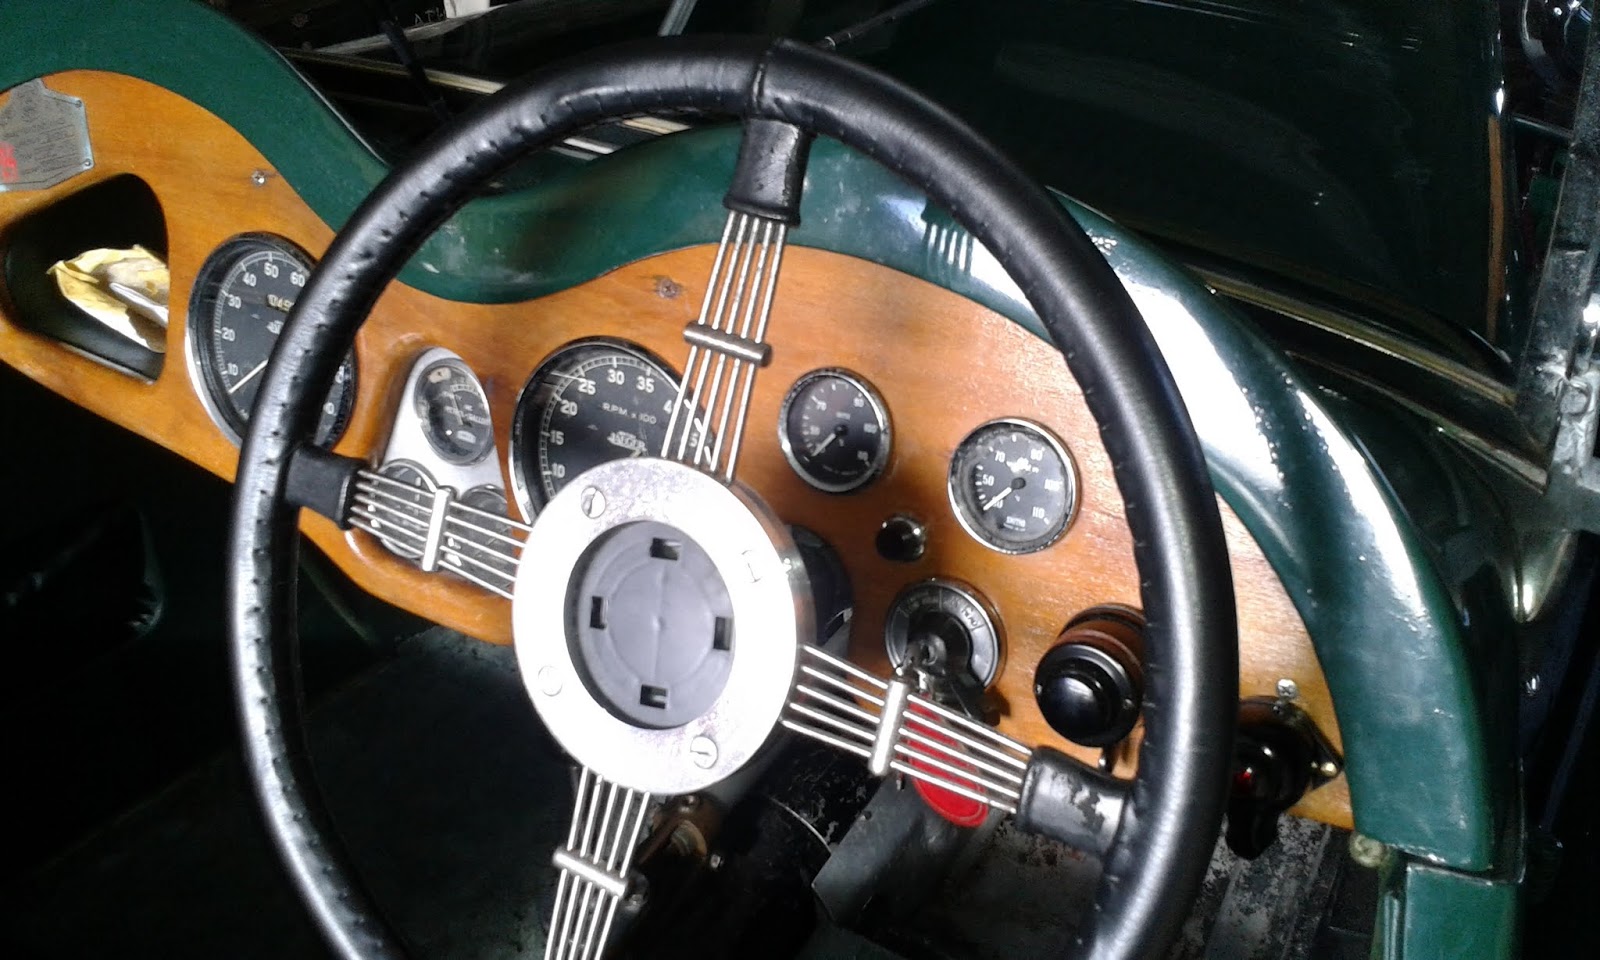
After tidying up the wires, I could turn my attention to the dashboard.  The vacuum gauge and volt meter were superfluous, which released space for the ignition and horn/dip switches. 

Unfortunately, I found out that the new horn/dip switch is really meant for installation on to a metal panel.  I therefore had to cut a relatively thin disc of wood to fit into the hole left by the vacuum gauge.  After staining and varnishing, and since it's almost covered up by the horn/dip switch, you hardly notice.

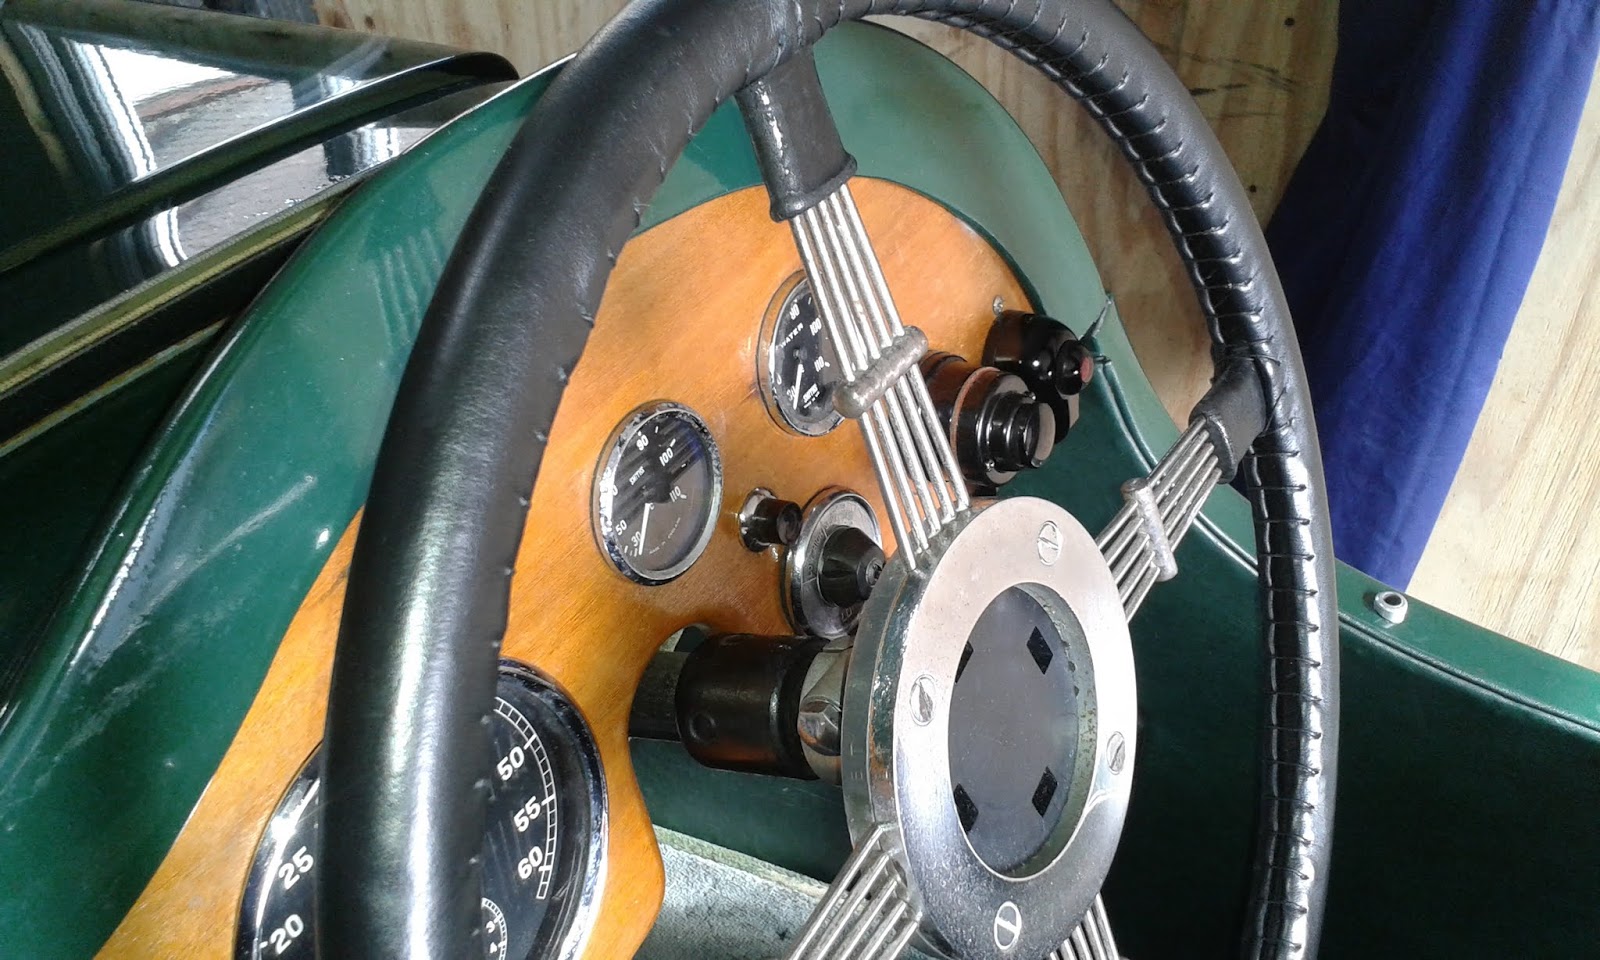
The new starter button required a hole and the replacement indicator switch could be installed at the far right-hand side.  I also meant to put the new wiper switch on the dash, but again hadn't realised that it's really meant for a metal panel and therefore the shank's not long enough for the wooden dashboard. 


Therefore, for now, the wiper switch and the choke are the only things left tucked under the dashboard, but it's still a big improvement.

Sunday 17 April 2016

It's a coil

Heading out on the short journey from our house to my brother-in-law's, to the car's embarrassment and mine we ground to a halt after less than half a mile.  Thinking that my expertise was now suffice to deal with the problem, I opened the bonnet, checked the fuel lines and examined the wires.  However, no luck - it wouldn't restart.  So, swallowing my pride, called Andy and cried 'Help!'.  After he had re-checked what I had already looked at, he pulled out the high-tension cable from the coil and found it was both loose and corroded, as was the inside of the coil.  Application of some black insulating tape allowed BSG 8 to get moving again.  However, that was only a temporary fix and this weekend I installed a new coil from Vintage Car Parts.  This will need further work, though, since we're not happy with how it's positioned (it would be better sitting vertically) and we need to install a new high-tension lead.

Sunday 10 April 2016

My Dad's thick side panels

When my dad put BSG 8 back togeether in the late 1980s, for some reason he didn't complete the side panels.  He didn't form the louvres and simply painted them in a primer.  There were probably two reasons.  Firstly, I think he wasn't sure what type of louvre to make.  Although the body is off a longtail (which used the short louvres), the front of the car is of the earlier style that could take the longer louvres).  Secondly, the metal used for the side-panels is relatively thick (1.8mm), which makes it difficult to cut and form the louvres.  (The normal panel-thickness is about 1.2mm.)  It's therefore possible that he viewed these panels as temporary measures.

Whatever the case, geating the louvres formed has been one of the most difficult tasks I've faced. My first preference was to find someone in Scotland. Most people couldn't deal with the thick metal and the one company who said they could do it wanted nearly £1,000! 

I ttherefore turned to south of the Border. Three companies looked promising, but would have had to make a special tool and the other couldn't take the work on at the time. 

Fortunately, I came across Mick BeBeakhouse of Sports Car metalware.  Although based in the South East of England, It was actually quite easy to deliver the panels to them. And they made a brilliant job.

If you're interested you can find out more on their website, which includes a video from the TV program Wheeler Dealers, in which Mick Beakhouse forms some louvers for an exhaust system:http://www.sportscarmetalworks.com/


I then had to get the panels painted. My brother-in-law, Andy McAinsh of John Martin MOT, put me in touch with Wilson Barrett of Sonnet Motors. He arranged for someone from Dingbro to perform a colour spectrum analysis of the existing colour to come up with a 98% match (Deep Brunswick Green).


The final result is brilliant, except that it highlights that the rest of the paint work also needs to be addressed.


However, one thing at a time. It has waited more than 20 years to have the front panels painted, so it can wait a little bit longer before we look at the rest of the car. In the meantime, we now have a car that looks much better than last season.  

Thursday 7 April 2016

Such a little thing

BSG 8, Adam and I has a great couple of days in the Scottish Borders in late a June last year at the Moffat rally. This was the longest run the car has undertaken since it came out of hibernation. And there was no doubt that it was feeling slightly poorly by the time it got back home. However, it was a huge surprise a week later to find it struggling badly to get any decent acceleration and speed.

Well,  we tried everything: adjusting the carburettors ; changing the oil; checking the fuel lines; etc,  etc. Eventually we concluded that it must be something very serious with the engine itself. We therefore started thinking about how to get the engine out and find a company that could recondition it. Seeking information about the timing chain,  John Freeth of ASCO suggested that it might be as simple as one of the valves being stuck, which  could be fixed with a simple tap! 

And that's all it was.  Two months of faffing around and limping about, all for want of a simple 'tap'.

Sunday 3 April 2016

The (re-)start of the story

Now that I've taken on the job of getting, and keeping, BSG 8 on the road, I'm determined to maintain a record of everything that I do.  Dad did make a lot of notes, which have helped greatly.  But they weren't comprehensive, and therefore there are a lot of unanswered questions.  Why did he use such thick metal for the side-panels?  What colour of paint did he use?  Why did he tuck a lot of the controls underneath the dash (which made them difficult to use)?  In creating this blog, I hope to make life easier for the future maintenance and ongoing restoration of the Fairbairn Family Singer 9.  And I also hope it might be of interest to others - even if only to avoid my mistakes!

Although BSG 8 moved to its new home in the middle of 2014, it's only now, in April 2016, that I've started keeping this blog.  Therefore, for the next while the posts will be mixture of catching up with the last two years and recording current progress.